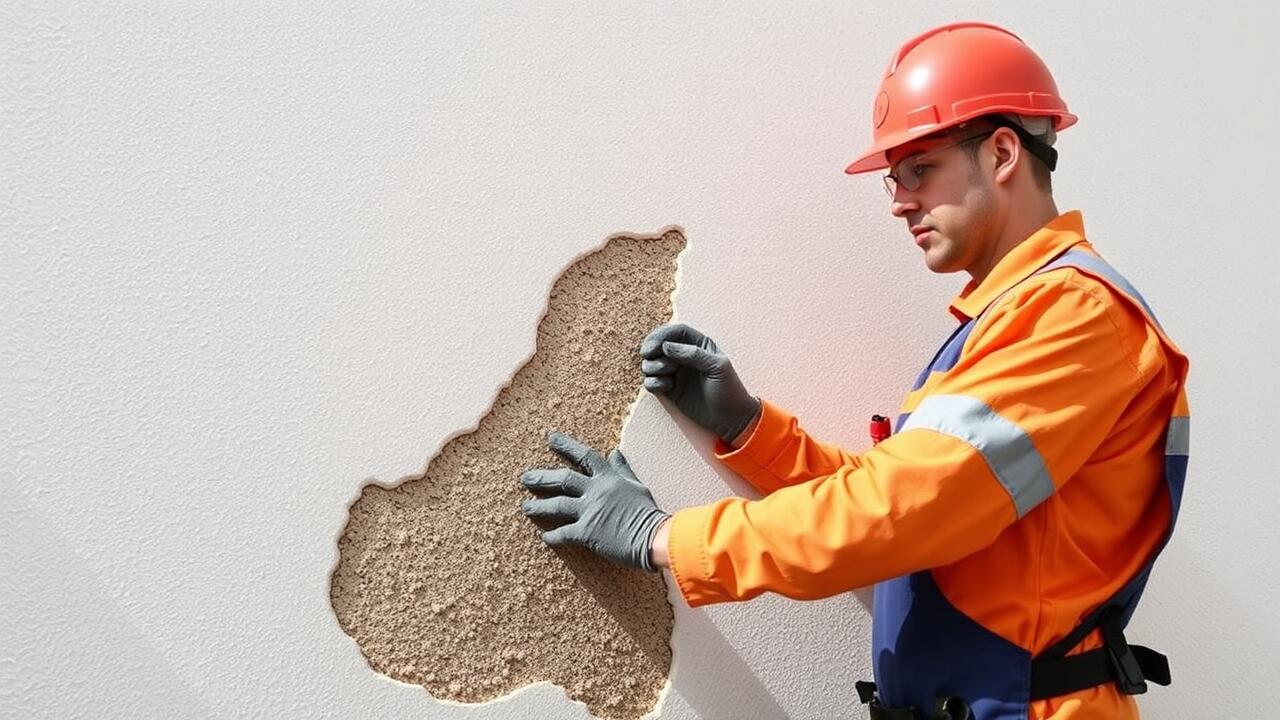
Repairing Larger Cracks and Holes
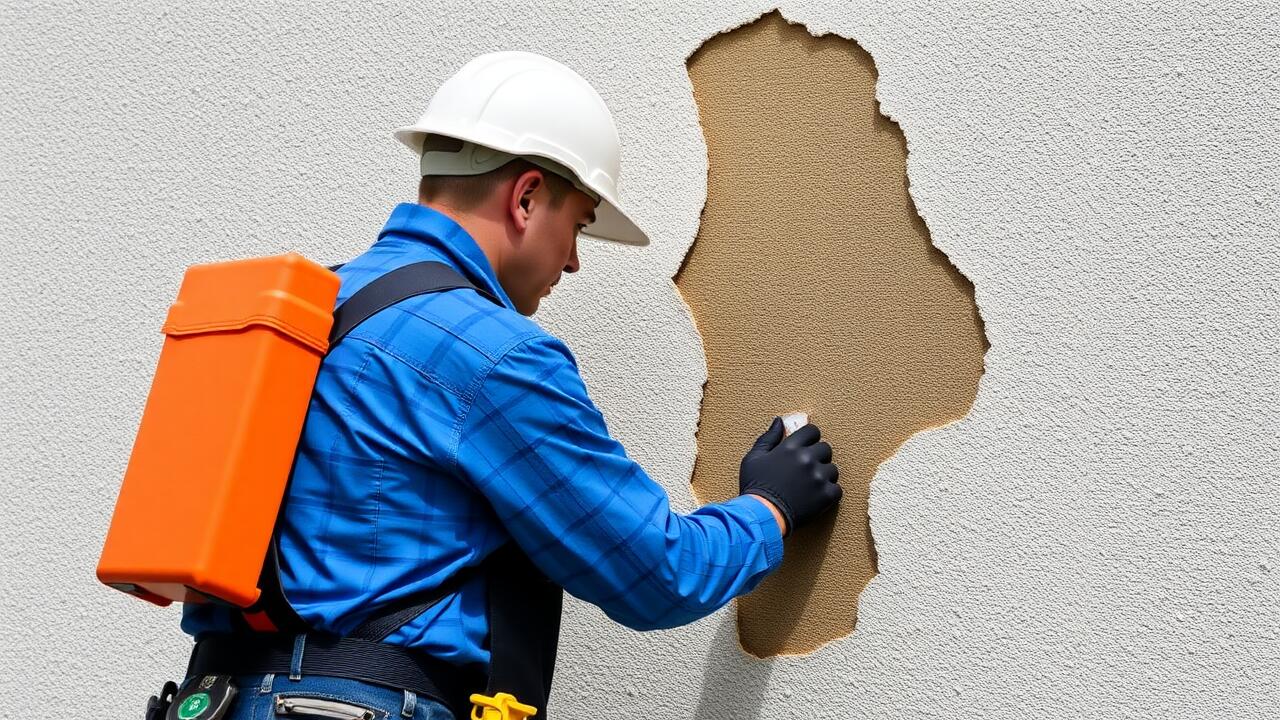
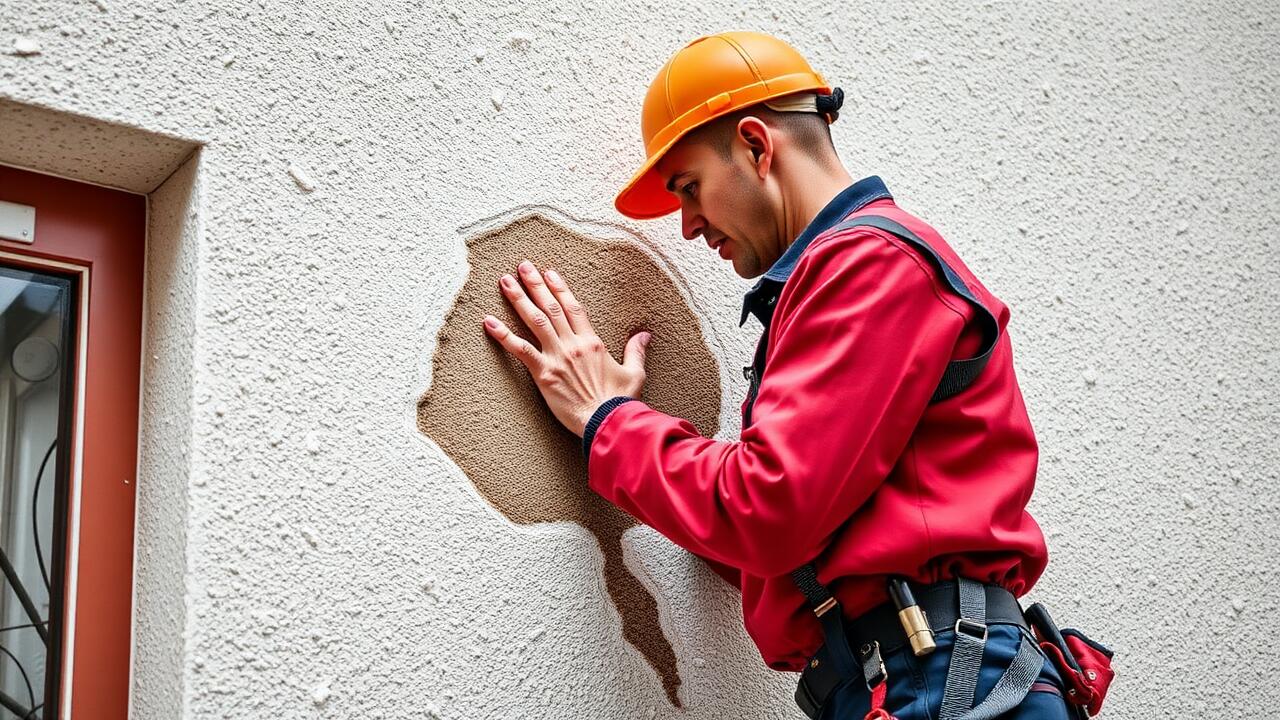
When addressing larger cracks and holes in stucco, it is essential to assess the damage first. Begin by cleaning the area around the crack or hole to remove any loose debris. Use a wire brush or a chisel to ensure that the edges are smooth. For cracks wider than a quarter-inch or holes that penetrate through to the structure, a backer rod can provide support before applying the patch. This step ensures that the repair material has a firm base. After preparing the area, mix the stucco repair compound according to the manufacturer’s instructions. Apply it using a trowel, making sure to fill the crack or hole thoroughly and smooth it out to achieve a uniform surface.
In Studio City, Los Angeles, stucco patching often requires a focus on durability and blending with the existing wall surface. It is crucial to allow the patch to cure according to the product guidelines. Monitoring humidity and temperature can also impact the cure time. Once cured, you may want to lightly sand the patch to match the surrounding texture before moving on to sealing and painting. This attention to detail will enhance the aesthetics and longevity of the repair, ensuring that your stucco wall remains both functional and visually appealing.
Step-by-Step Guide for Effective Patching
Before starting the patching process, it is essential to prepare the surface. Clean the area around the crack or hole thoroughly using a stiff brush or a pressure washer to remove dirt and loose material. If the damage is significant, consider using a chisel to deepen the crack, creating a key for better adhesion. For Studio City, Los Angeles Stucco Patching, ensure you have the right materials, such as stucco mix, a hawk, trowel, and sponge. Mixing the stucco following the manufacturer’s instructions will ensure optimal results.
Once prepared, apply the patching compound generously to the affected area. Use the hawk to hold the stucco while you transfer it onto the surface with the trowel. Smooth it out and blend the edges carefully to create a seamless finish. If the repair is large, apply the patch in layers, allowing each layer to dry before adding the next. For a more polished look, you can use a damp sponge to feather the edges and match the surrounding texture closely.
Texturing Your Stucco Repair
When it comes to texturing your stucco repair, achieving a uniform finish is essential for blending the patched area with the surrounding surface. You can recreate the existing texture by using tools like a trowel, sponge, or brush. Each method provides different finishes, so it’s crucial to select one that matches the original texture of your stucco. Applying the texture while the repair material is still wet will yield the best results, allowing for better adherence and a more seamless appearance.
Homeowners in Studio City, Los Angeles, will find that local weather conditions can also influence the drying time of stucco materials. It’s wise to plan texturing during the early morning or late afternoon when temperatures are milder. Additionally, experiment with scrap material to test the texture technique before moving to the visible area. This preparation ensures that the final appearance will be consistent with the established style, achieving a professional-grade appearance for your stucco patch.
Ways to Match Existing Texture
Matching the existing texture of stucco can significantly impact the overall appearance of your repair. When working on stucco patches in areas like Studio City, Los Angeles, it is essential to observe the surrounding textures closely. Take note of whether the existing stucco is smooth, heavily textured, or somewhere in between. Use tools such as a trowel or sponge to recreate the specific patterns and finish. Experimenting on a small, inconspicuous area can help determine how well your chosen technique mirrors the original texture.
Once you achieve a satisfactory match, the drying process is critical. Allow the patch to cure fully before proceeding to paint or seal the area. It’s advisable to test the paint on a small section first to ensure it blends seamlessly with the existing wall. Tools like rollers or brushes may help mimic the texture while applying primer or paint in Studio City, Los Angeles. This attention to detail can significantly enhance the finish and make repairs less noticeable.
Sealing and Painting After Repair
Once the stucco repair is complete, sealing the surface is crucial to prevent water infiltration and ensure the longevity of your work. A quality sealant provides a protective barrier against moisture, dirt, and other environmental elements. In Studio City, Los Angeles, stucco patching projects often benefit from the application of a waterproof sealant designed for exterior use. Make sure to follow the manufacturer's instructions for the best results, taking care to cover all patched areas thoroughly.
After sealing, it’s time to paint the repaired stucco. Choosing the right paint is essential for durability and aesthetics. Look for a paint specifically formulated for stucco surfaces to ensure proper adhesion and breathability. In Studio City, Los Angeles, stucco patching can be enhanced by selecting a color that matches the existing structure, creating a seamless appearance. Applying two coats may provide additional coverage and protection against the elements.
Best Practices for Long-Lasting Results
Proper preparation before sealing and painting your stucco repair is crucial for durability. Start by allowing the patched area to cure for at least a week, depending on the local climate. A well-cured patch will bond better to the existing stucco, reducing the risk of cracks reappearing. Clean the surface thoroughly to remove dust and debris. Using a high-quality primer designed for masonry will enhance adhesion and provide an even base for your topcoat.
When selecting paint, choose a product formulated specifically for stucco. This type of paint is often more breathable, accommodating the natural expansion and contraction of the material. To ensure a uniform appearance, test the paint on a small inconspicuous area first. For those in need of professional assistance, local services specializing in Encino, Los Angeles stucco patching can provide expert guidance and help achieve optimal results. Regular maintenance will also prolong the life of the repair, allowing you to enjoy your home's exterior for years to come.
FAQS
What materials do I need for DIY stucco repair?
Common materials include stucco patching compound, a trowel, a putty knife, a sponge, and a paintbrush. Depending on the size of the repair, you may also need a wire brush, spray bottle, and sandpaper.
How can I tell if my stucco needs repair?
Look for visible cracks, holes, or areas where the stucco is pulling away from the wall. If you notice water damage, mold, or peeling paint, those can also be indicators that repairs are necessary.
Is it difficult to match existing stucco texture?
Matching stucco texture can be challenging, but it is possible. Techniques such as using a sponge, brush, or trowel to replicate the existing texture can help achieve a seamless look.
How long should I wait before painting over repaired stucco?
It's best to wait at least 24-48 hours for the stucco repair to fully cure before applying paint. Always check the manufacturer's instructions for specific drying times.
What is the best way to seal stucco after repair?
Use a high-quality masonry sealer that is appropriate for exterior use. Apply the sealer with a brush or sprayer once the repair is completely dry to protect against moisture and enhance durability.
