Applying the Repair Compound
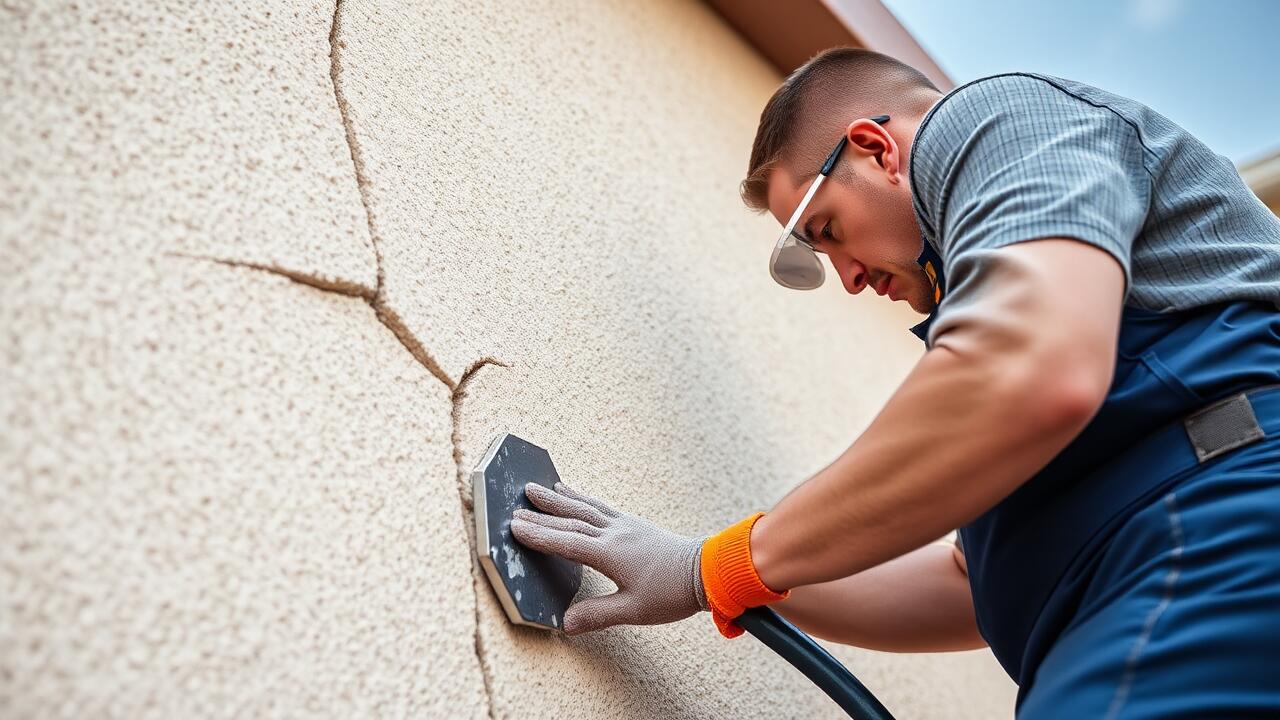
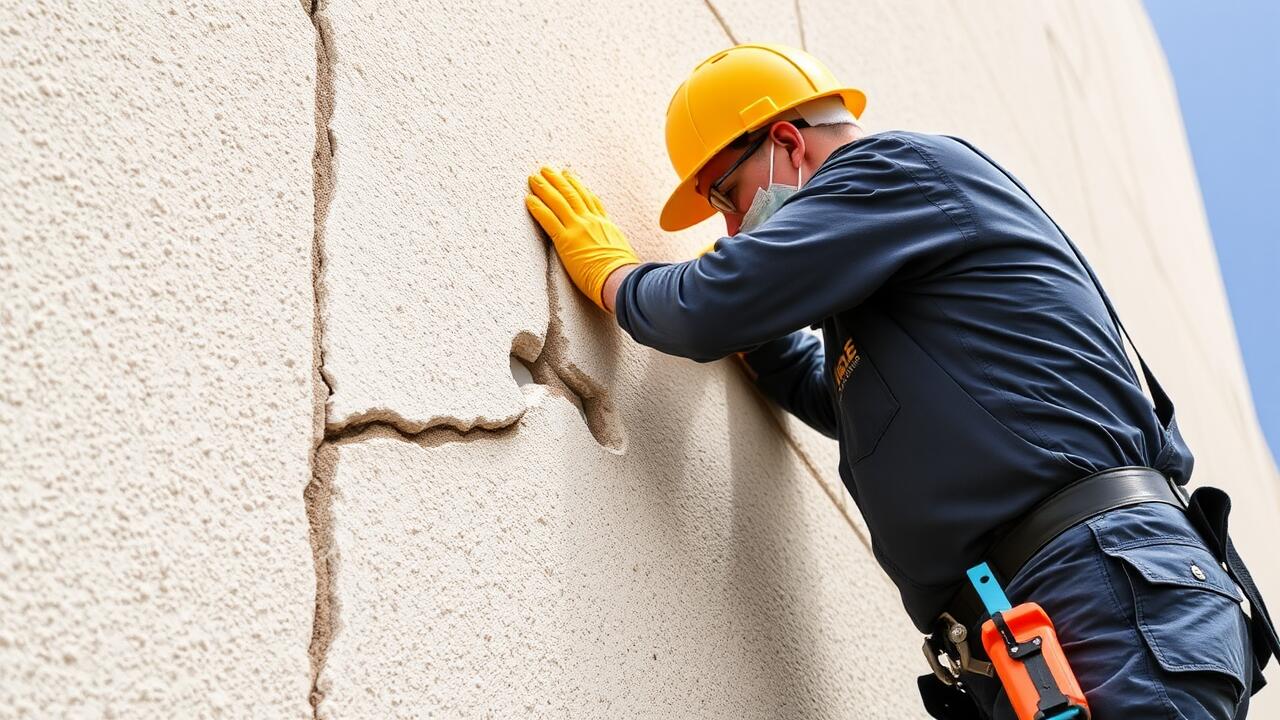
To begin the repair process, thoroughly clean the area around the crack. Use a wire brush to remove any loose debris and dust. A power washer can be effective for larger surfaces, but ensure the area is completely dry before proceeding. Once the area is prepped, select a suitable stucco repair compound. Many home improvement stores offer specific products designed for small cracks, but always check the manufacturer's recommendations for compatibility with your existing stucco.
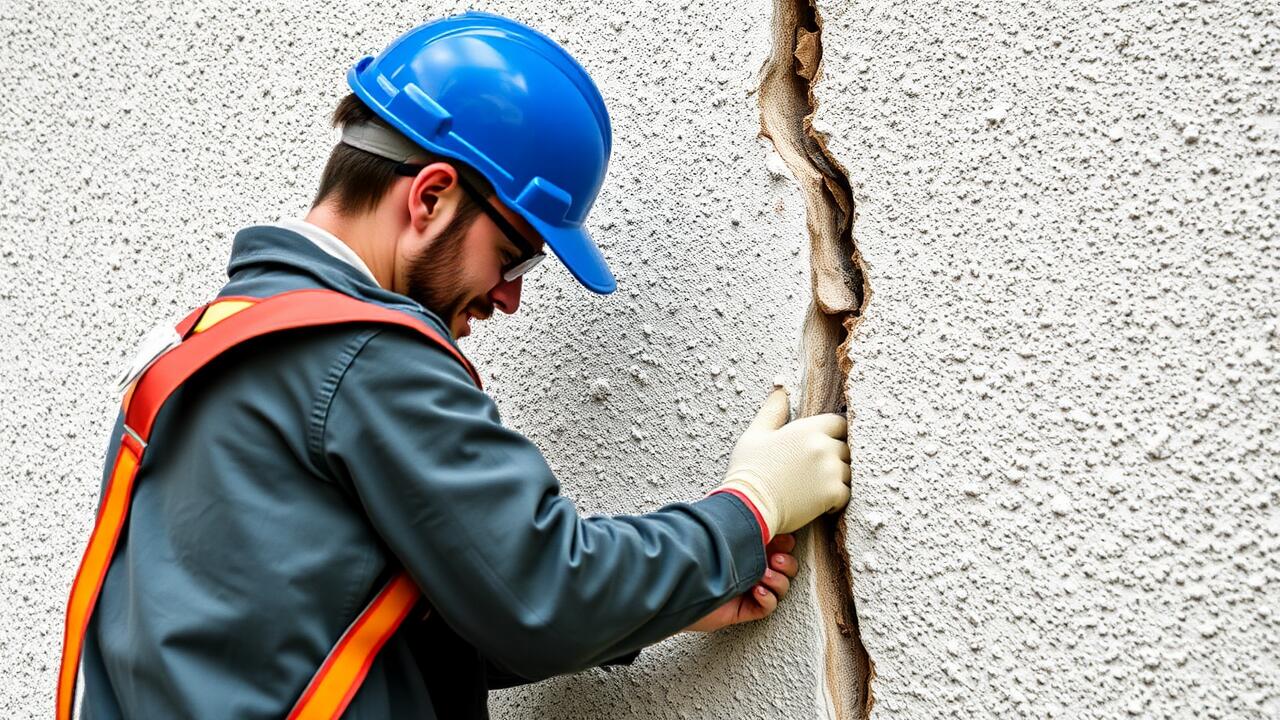
Apply the repair compound carefully, focusing on filling the crack entirely. A putty knife works well for this job, allowing for precise application while ensuring the compound adheres properly. Smooth the surface as much as possible to blend with the surrounding stucco. For those unsure about performing the repair themselves, searching for “Stucco Crack Repair near me” can help find local professionals who specialize in these repairs. Maintaining a consistent texture will contribute to a seamless finish.
Techniques for Smooth and Even Application
Achieving a smooth and even application of repair compound is essential for blending the repaired area with the surrounding stucco. Start by choosing a high-quality repair compound that matches the texture and color of your existing surface. Apply the compound using a putty knife or trowel, ensuring you press it deeply into the crack. Feather the edges to create a seamless transition. Working in small sections helps maintain control over the thickness and smoothness of the application.
Once the initial layer is applied, consider using a damp sponge to gently smooth the surface. This technique helps remove any excess material and creates a flat finish. If you find it challenging to achieve the desired texture, look for local services by searching "Stucco Crack Repair near me" to enlist professional help. Their expertise can ensure a flawless application and finish, enhancing the overall appearance of your stucco surface.
Finishing Touches on the Repair
After applying the repair compound, it's essential to ensure the surface is adequately smoothed out and matches the surrounding stucco. Use a trowel to spread and feather the edges of the compound, blending it with the existing texture. Pay attention to the drying time indicated on the compound's packaging, as this can affect how well the repair adheres and how it should be finished. If you're unsure about achieving the desired texture, consider seeking help from professionals by searching for “Stucco Crack Repair near me.”
Once the compound has cured, it's time to address the finishing touches. Begin by painting over the repaired area with a color that closely matches the original stucco. This step not only enhances the overall appearance but also provides a protective layer against moisture. If you prefer a textured look, using a spray-on texture can help mimic the surrounding stucco pattern. Proper finishing prevents future problems and maintains the aesthetic appeal of your home's exterior.
Steps for Texturing and Painting
Once the repair compound has fully cured, it’s time to focus on texturing and painting to match the surrounding stucco. For a seamless finish, use a texture spray or a trowel to replicate the existing pattern. Ensure the texture matches closely; if the original surface is coarse, a thicker application may be needed. A fine texture will require a lighter touch. Testing the technique on a small area first can help achieve the desired result without risking the entire repair job.
After the texture dries, proceed with painting. Choose a paint that is compatible with stucco and formulated for exterior use to withstand the elements. It’s essential to apply a primer first, especially if the patch is larger or the color doesn’t match precisely. Be sure to blend the paint with the surrounding wall. For homeowners needing professional assistance in this process, searching for "Stucco Crack Repair near me" can lead to qualified experts who can ensure a flawless finish.
Preventing Future Shrinkage Cracks
To prevent future shrinkage cracks in stucco, it is essential to focus on proper installation techniques from the beginning. Ensuring adequate moisture content in the material before application will help create a sturdy surface. Using quality materials specifically designed for stucco can also make a significant difference in maintaining the integrity of the finish. Implementing expansion joints in areas prone to movement will allow for natural shifts in the structure without causing cracks.
Routine maintenance plays a crucial role in stucco longevity. Regular inspections can catch issues early, such as cracks or water intrusion, preventing more severe damage down the line. Applying a sealant can protect stucco from moisture, which is a common cause of deterioration. Homeowners searching for solutions may find “Stucco Crack Repair near me” useful in locating local professionals for repairs or upkeep. A proactive approach to maintenance will help preserve the appearance and functionality of the stucco exterior.
Best Practices for Maintaining Stucco
Maintaining stucco involves regular inspections and address any deterioration promptly. Periodically check for cracks, discoloration, or signs of water damage. Clean the surface to remove dirt and debris that can hold moisture. It’s essential to ensure that gutters and downspouts direct water away from the home’s exterior, which can help prevent water damage and potential cracks in the stucco.
If you encounter significant shrinkage cracks, searching for “Stucco Crack Repair near me” can connect you with local experts who can assist in making necessary repairs. Annual maintenance, including sealing joints and applying protective coatings, also plays a crucial role in preserving the integrity of the stucco. Proper maintenance not only enhances the appearance of your home but also prolongs the life of the stucco.
FAQS
What causes shrinkage cracks in stucco?
Shrinkage cracks in stucco are primarily caused by the natural drying and curing process of the material, temperature fluctuations, and inadequate mixing or application of the stucco.
Can I repair shrinkage cracks myself, or should I hire a professional?
You can repair shrinkage cracks yourself if you have some DIY experience and the right tools. However, if the damage is extensive or you are unsure about the repair process, hiring a professional may be a better option.
How do I choose the right repair compound for my stucco?
Choose a repair compound specifically designed for stucco or masonry. Look for products that are flexible and can bond well with existing stucco to ensure effective repairs.
What are the best practices for maintaining stucco to prevent future shrinkage cracks?
Regularly inspect your stucco for signs of damage, keep it clean, ensure proper drainage around the structure, and consider applying sealants or waterproofing treatments to protect the surface.
How long does it take for the repair compound to dry before I can paint over it?
Drying times can vary based on the specific product used and environmental conditions, but typically, you should wait at least 24 to 48 hours before painting over the repair compound. Always check the manufacturer’s instructions for specific guidance.
